Tuesday, December 13, 2011

14 layer cake

Hello Bloggers-

Since it is finals week and my brain is slightly fried, I haven't been able to bake as much as I would like.  So, I've decided to post on some previous projects I've done recently and hopefully I'll be able to get back in my apron after finals have finished.

While getting lost in baking blogs such as Bakerella and Brown Eyed Baker I stumbled across a 14 layer cake.  I was immediately fascinated.  I looked at the recipe and it seemed doable.  I've done this recipe twice and it definitely turned out better the second time so make sure and take my tips because it turned out absolutely fab the second time around!

Recipe...


http://www.oprah.com/food/The-Smith-Familys-12-Layer-Cake

I know it says 12 Layer cake but you'll have plenty of batter for 14 layers.

Make the cake as instructed.  I've used 2 different types of pans for this cake.  You can go to Cafe Rio and buy their to go tin foil pans for 50 cents each...WARNING some Cafe Rio's say no.  In that case go to the grocery store and they should have packs of three for like 2 dollars.  Make sure and pam the pans thoroughly and line with parchment paper.  The cakes need to come out completely and evenly to get the desired effect.  When you pour the cake batter into the pans make sure and use a rubber spatula to spread the batter evenly to the edges.  Remember that cake will normally rise taller in the middle of the cake so try to get this as even as possible so your cake will be flat.  Let them cool completely before removing.

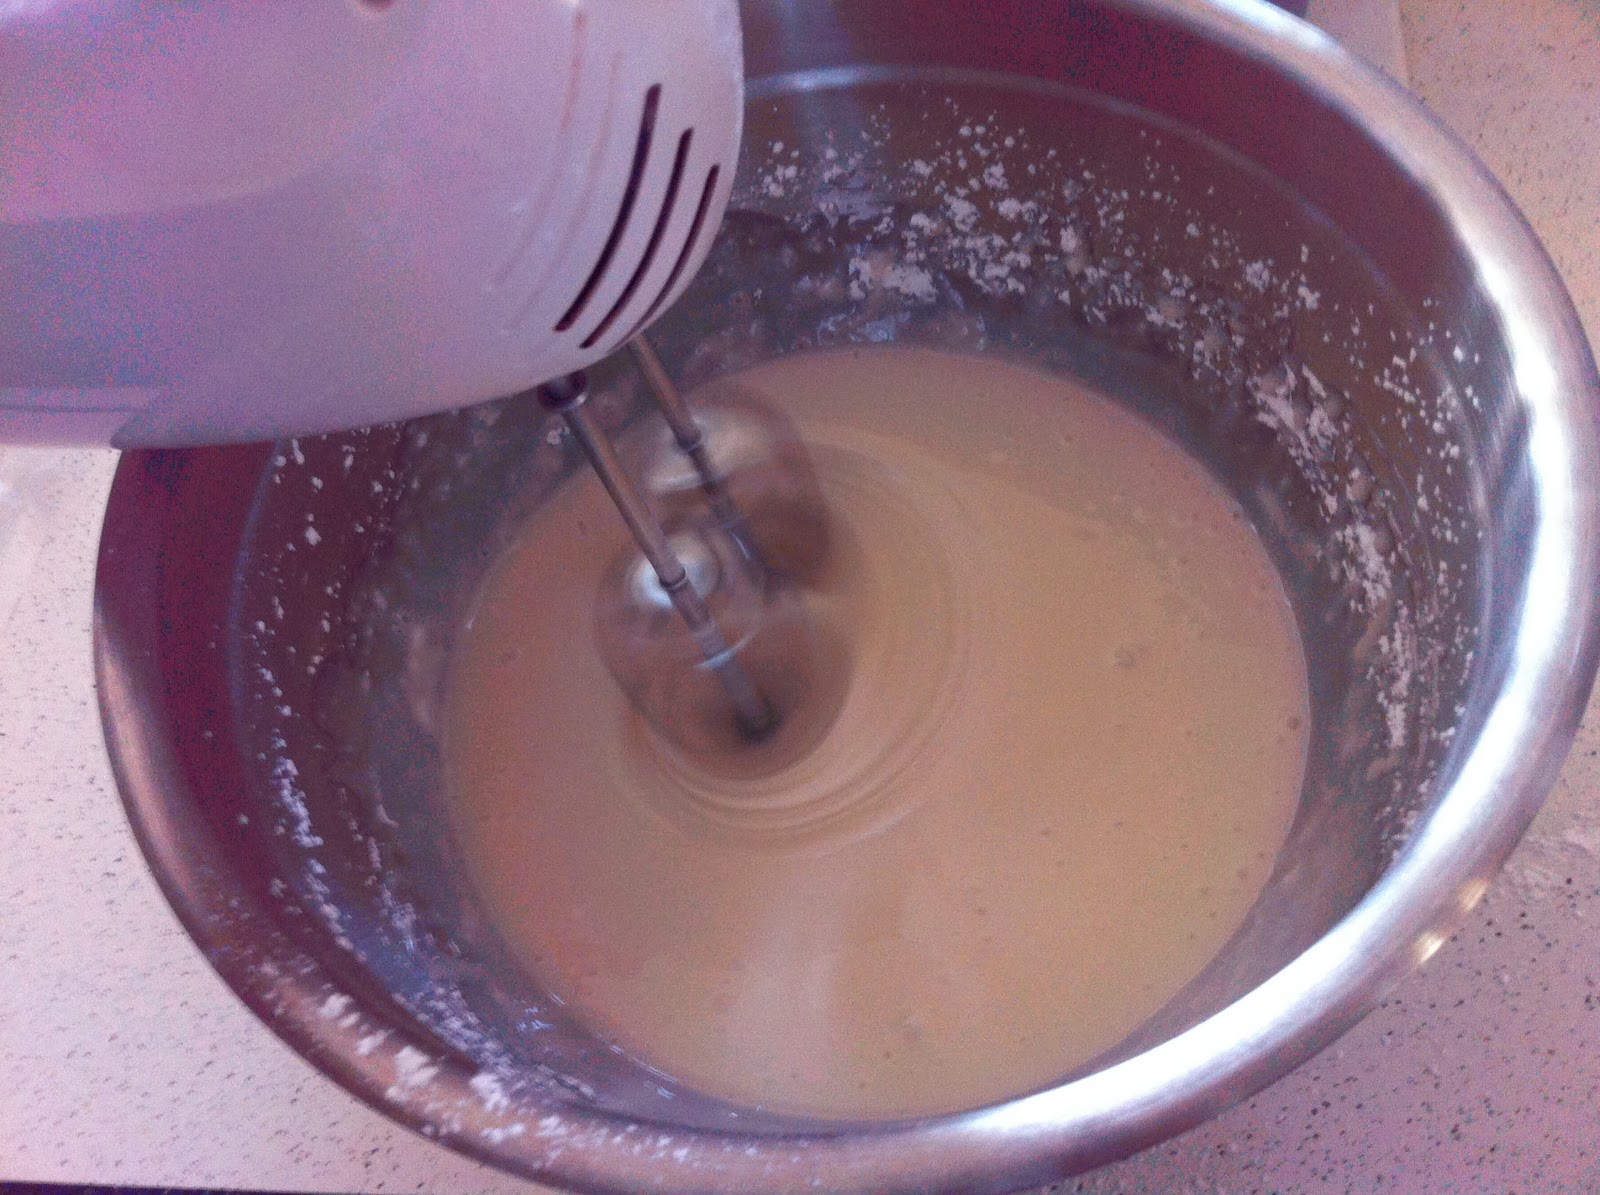
Make icing as directed.  And spread a few tablespoons inbetween each layer and spread to the edges.  This is going to drip like crazy.

TIP:  If you are decorating your cake on the same surface it will be served on then before placing the cake down put a couple of pieces of parchment paper around the edges so when you decorate and icing/frosting dribbles you can simply remove the parchment paper from underneath the cake and have a clean display. 

To make the cake extra rich and tasty add my awesome chocolate frosting recipe all over.  (I realize I use this recipe a lot...but it's delicious.)


I really hope someone else attempts this cake because really it's totally doable and sooo delicious!
Let me know if you try it and what you think!

Monday, December 12, 2011

Fondant

Let's be honest.

Fondant is not the tastiest thing.  But it does make cakes look beautiful, clean and perfectly decorated.  I have minimal experience with fondant but it has taught me a lot.  Most people buy their fondant...this is actually surprisingly expensive.  For my first time I decided to try store-bought and making my own. Here are my thoughts on the differences between store-bought and homemade.

Store-Bought Fondant

-there is a really good chance that it has sat on the shelf for a LONG time, and even though it's still good it can get really dried out and impossible to use.  1/4 of the fondant I bought I had to toss
-the colors are incredible, and it's easier than dying your own (tutorial below)
-it's expensive (especially the jazzy brands like Duff!)  Wilton isn't too bad but like I said it can be hard.
-You can't flavor it

Homemade Fondant

-SO cheap.
-tastes better
-you can choose the consistancy
-takes a lot more time and consideration

I make marshmallow fondant.  It is softer and doesn't dry out like store-bought fondant does.  And I think it tastes better too.  Making fondant is tricky.

Marshmallow Fondant Recipe

Ingredients-

1 16 oz. package mini marshmallows
2-5 Tablespoons water
2 lbs Powdered sugar
1/2 cup vegetable shortening

Directions-

-Place marshmallows and 2 tablespoons water in a microwave safe bowl.  Microwave for 30 second, stir.  Continue in 30 second intervals until the consistency is like marshmallow fluff.  About 2 1/2 minutes.
-Add coloring or flavoring at this point.  I use wilton gel/paste colors.  They are great and have a lot of variety
-Place 1/2-3/4 powdered sugar on top of the melted marshmallow.  GREASE YOUR HANDS!!!!! Fold in. If the marshmallow mix starts hardening and becomes hard to knead, throw it back in the microwave for a little bit to soften it up
-When the powdered sugar starts mixing pretty good I move to a clean and newly greased bowl.   
-If it feels dry and easily tears, add water 1/2 tablespoon at a time.
-When it is elastic without tearing, place it on a well greased counter top and knead for about 8 minutes.  If it is a little stick add more shortening.  This might sound gross but fondant can dry out VERY easily if not greased.
-When done kneading roll into a ball and cover with a layer of shortening.  Double wrap with plastic wrap and place in a freezer bag.  Keeps for several weeks in the fridge.
-Knead to use, roll out to 1/8 inch.

A lot of sites suggest adding the coloring after the you've added the powdered sugar.  But I've found that if you add coloring during the marshmallow stage it's a lot easier to get a brighter and more even color.

Here is how to dye pre-made white fondant.


 Toothpicks are my favorite way of adding color.  It doesn't take a lot of Wilton dye to color fondant and a toothpick gives you a lot of control and you won't loose product like you would if you used a spoon or something like that.


 It doesn't mix well at first.  Don't worry, grease up those hands and keep going it will eventually turn out.


 Plain white.  Ivory.  Peach cream.
  Colors by Wilton.


Roll out like cookie dough.  Make sure the cake has been frosted so the fondant as something to stick to.  Lay it on top and fit the fondant close to the cake.  Then use one of the tools pictured...found at Michael's and inexpensive.  This saves me.  My first fondant experience I used a knife and I was a mess.  This mini pizza cutter looking instrument will save you from sweating and tearing your fondant.

If you have questions...I'm here!  Fondant is tough and I'm finally getting the hang of it and would love to help anyone who is struggling!  My email is corinnesano@gmail.com.

Sunday, December 11, 2011

Bachelor Party!!

A month ago my husband, Danny, told me he was throwing a bachelor party for his best friend and asked if I would make a cake for it.

Of course!  Cakes and boobies, I'm all for it!

So I of course did some research for this cake and found some pretty provocative cakes.  Yikes!  I had an idea in mind but I was nervous about what size of cakes and boobies!  And how to make them.  I realized that on Cake Boss they use Rice Kripies or "Cereal Treats" to sort of build things.  So I decided to try rice krispies for the boobs.  I went straight to the cereal website and used their recipe and they were so tasty :)  I'm a big snacker while I bake.  oops.


Love these!

So...thank goodness the groom's favorite cake (according to my hubs) is yellow box cake with my mother-in-law's awesome chocolate frosting.  (recipe in previous posts).  I was so relieved because with it being a box cake I could really focus on the decorating.  I decided early on that I wanted this to be a corset.  So.....


Email me if you have any questions!!  corinnesano@gmail.com

Saturday, December 10, 2011

Secrets, Golf Courses and Chocolate Frosting.

Hey Bloggers-

Boy do I have a treat for you!  But the cake is a secret so I have to wait to talk about it...but I'm thrilled with how it turned out and can't wait to show everyone.   I'll get the post ready so I can post it ASAP.  Get excited.

But for today's post I'm finally going to talk about the golf course I made for my husband's 25th birthday.  My husband Danny...


He is an avid golfer and I've been so excited to make this cake for him.  But I've got to say this was the most stressful cake experience I've had yet.  As I have stated, I'm a big believer in test runs.  And thank goodness for that because otherwise I would have turned out the cake and it would've looked like this...


Yikes.

I haven't had much experience with turning out 9x13 cakes and didn't realize that they don't come out quite as easily as my 9 in rounds.  So I made some changes to the next trial.  I went a little overboard with the Pam and added parchment paper.  Parchment paper is awesome.  If you can't get your cakes to come out clean and they break, spray the pan with Pam...lots of it.  Then, line the bottom of the pan with parchment paper...if you don't have parchment paper you can use wax paper...but it won't be as easy to come off but it works really well as a substitute.

So much better!
Anyways.  Back to the golf course.

Squirrel!

Have you seen UP!?  I sometimes feel like that dog because I get distracted.  When I do I'll say Squirrel! and let you know what has just distracted me and why I'm off track.

Squirrel! (Chelsea Lately)

Anyways....so I searched for ideas online and it took some time but I finally got a sketch together of the cake and how I wanted it to look.  And I watched the golf course episode of Cake Boss three times :)

The cake...Chocolate and Coconut Marble Cake.  Source...www.easy-cake-ideas.com
This cake is incredible.  It is so tasty and moist and is to die for with chocolate frosting.


I made two sheet cakes and cut them into my desired shape, covered it with my mother-in-law's incredible chocolate frosting  and then let it sit for about an hour.  During this time I made the trees.  These were so fun, I used broken ice cream cones and piped sage colored frosting and then stuck them in the freezer while they set up.

Next I covered the cake with green fondant.  Then piped the grass using buttercream frosting...recipe also found on www.easy-cake-ideas.com  Next I used brown sugar for the sand traps, then the water was made of a gel icing that I bought at Michael's.  Then I used fondant for the golf ball and flag.  And the finishing touch (which I am the only one who was excited about this) were the weeds by the back pond, I dyed uncooked spagethhti and surrounded the pond.


The cake ended up looking awesome!  It was stressful because I worked until seven, and I didn't finish until about 2:30 am.  And Thanksgiving was that next week and I was so stressed.  But I survived all of the baking and took a little break...until last night.

You'll hear about that tomorrow  :)

OH!  And I'm sorry the pictures are so terrible.  The most decent camera I have is my iPhone.  And when I made my husband's cake the lens is all foggy because I may have set my phone to close to a hot pan and I think that's what ruined it...don't worry I replaced it and the pictures of the next cake are much better...but still iPhone quality.

You can find the recipes on that website I posted.  But here is my mother-in-law's frosting recipe.  Seriously, you'll die.  And you will never buy canned chocolate frosting again.  Ever.

Chocolate Frosting

Ingredients-

12 Tablespoons Cocoa
1 1/2 squares butter melted
4 cups powdered sugar
1/2 cup milk
2 teaspoons vanilla

Directions-

-Combine powdered sugar, milk and vanilla


-Add cocoa and butter

-Refrigerate


That's it!  It is amazing.  Let me know if you try any recipes that you like!

Coming up this week....

-how to make and dye fondant
-using rice krispie treats on cakes
-future projects

Thursday, November 17, 2011

Butter

"If something tastes good and you wonder...what is that?  It's probably butter."
 -Amy Adams on Julie and Julia

I am a big believer in butter.  It makes everything taste better.  I search for recipes online to try.  I usually find them on blogs, foodnetwork.com or Pinterest.  When narrowing down which recipe to choose I always go for the one with more better.  They are always the best option. 

When using my recipes you will often see the ingredient...1 pound of butter.  I love butter.

This cake I'm posting about today is one I did a while ago and it's become a family favorite.  I found this recipe in the Unofficial Harry Potter Cookbook that can be found on amazon.com  This book is full of delicious recipes that have been so fun to make!


This is Hermione's birthday cake for Harry in the fourth book.  Hermione's Cherry Bakewell Cake is a two layer light almond cake with cherry filling and a light whipped butter frosting. 

Ingredients-

Almond Cake-
     1 1/2 cups all-purpose flour
     1/2 cup finely ground almonds
     1 teaspoon baking powder
     1/4 teaspoon salt
     1 1/2 sticks butter at room temperature
     1 cup sugar
     3 large eggs, at room temperature
     1 teaspoon almond extract
     1/2 cup whole milk, at room temperature
    
Butter Frosting
     2 sticks butter, at room temperature
      2 cups powdered sugar
      1 teaspoon vanilla extract
     2 tablespoons whole milk

To finish the cake
    1/2 cup cherry pie filling
     Maroschino cherries, for decorating
     Toasted sliced almonds, for decorating

Directions-
1.  Preheat oven to 350 degrees.  Grease 8 in pans and line with parchment paper (IMPORTANT).  Whisk flour, ground almonds, baking powder, and salt and set aside.

2.  Cream sugar and butter for about 5 minutes until light and fluffy.  Add eggs one at a time, scraping down the sides of the bowl after each egg.  Add almond extract.  Add the flour mixture and milk alternately starting and ending with flour mixture.  Scrape the bowl and fold in any flour that wasn't mixed in.

3.  Separate batter evenly into two pans and bake for 25 minutes.  (If using 9 inch pans cook for 21 minutes)  Cakes should feel firm.  Make sure a toothpick comes out of the center clean when cakes are finished.  Cool cakes in pans for 10 minutes, then invert on wire racks to cool completely.

4.  For the frosting, beat all ingredients together for 7 minutes until light and fluffy. 

5.  Assembly.  Place the first cake face down on the platter, cover with a layer of frosting, and then cover with 1/2 cup cherry pie filling.  Spread around to cover the top of this layer.  Place second cake on top.  Frost the cake and decorate as desired with cherries and almonds. 

NOTES-  I often make 1 1/2 times the frosting so I have enough to do some fun piping on the sides and really make the cake look pretty.  This cake is so light and tasty you could literally eat a quarter of the cake and still want more.  I love this cake. 

If anyone has any questions let me know!

Rin's Bakery

Over the past year or so I've become fascinated with baking.  Specifically...cakes.  My mother-in-law is an incredible cook and is who initially inspired me to start baking.  This blog is going to consist of the recipes I try throughout the week and the things I learn.  To come this week...

Thanksgiving Treats
My husband's golf course birthday cake

Happy Holidays!